Beech 18 Spar Strap Kit

Spar Strap Kit
Vintage Aircraft is now offering wing spar x-rays for the Beech 18. We can now provide you with a complete x-ray and spar condition evaluation. We will remove your spar strap as necessary to give access for the x-ray inspection and we will do a condition inspection on your strap. We will re install your strap to its manufacturers specifications. You will receive the x-ray films, the written report and a CD full of digital pictures of your spar and the inside of your wing and truss structure. Please call well in advance to schedule this type of inspection.
The FAA has approved an Alternate Method of Compliance (AMOC) for the wing spar AD 75-27-09R2 which gives instructiuons and possible remedy to spars that need repairs. If the spar does not need any repair work then the original AD is still to be followed. If the AMOC is to be used then the inspection interval becomes dependent on a calendar inspection. We offer modifications to your airframe to make it easier to remove and replace your spar strap the next time.Making it easier to remove the strap for future AMOC inspections will save you shop labor in the future.
Prices for the complete inspection will vary depending on what kind of strap you have and the time required to remove and replace it so call for details.
Vintage Aircraft is proud to offer the best spar strap kit ever made for the Beech 18 series aircraft!
We purchased the rights to the Aerospace Products spar strap STC and their full parts inventory. We are now offering their complete new old stock kits for all of the different models of the Beech 18. This kit is the only one that is completely flush with the skin of the aircraft and, as a result, is hardly noticeable.
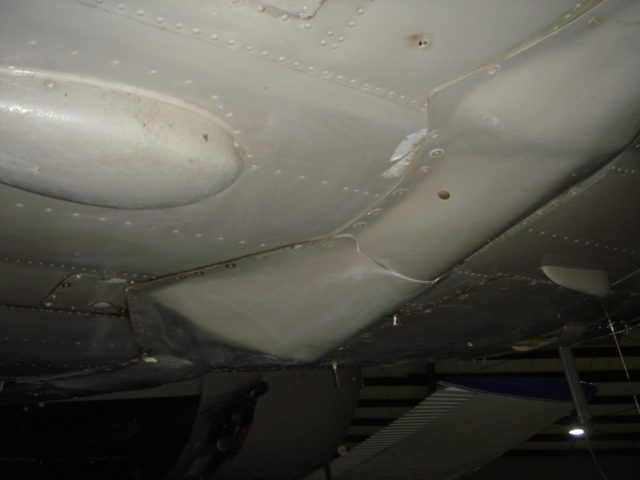
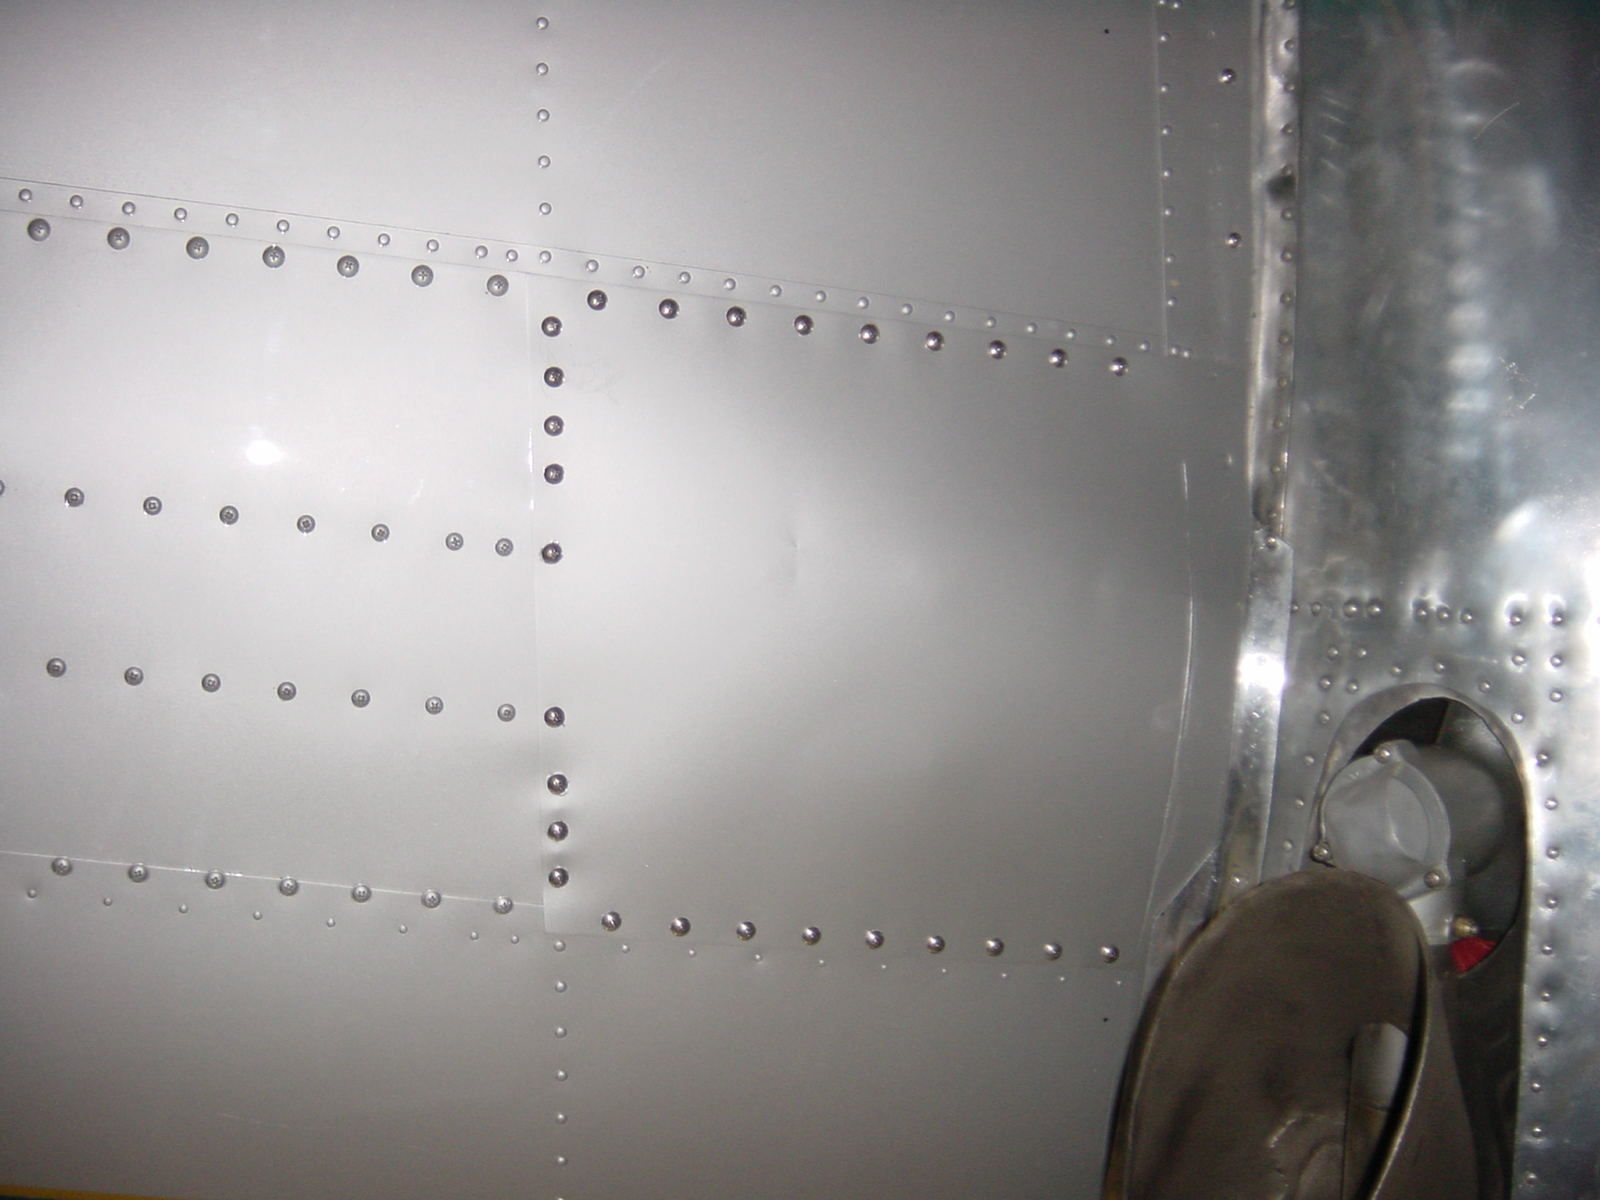
Compare any other spar strap to our kit and you will see that there is no real comparison. Not only is our strap kit the only one available today but it is by far the best one ever made. The shot above shows the belly of Keith Cross's beautiful, award winning, UC-45E which has our spar kit installed. You can hardly tell that it has a strap at all.
These three photos show the complete 1509-3 kit. The kit has all of the hardware and blue prints needed to strengthen the steel truss spar on any Beech model 18 aircraft. We are now including a CD ROM which has over 150 photos of previous spar strap installations to help you with the installation.
There are 141 different items in the kit that consists of over 2200 parts. The kit comes packed in a 190 pound wood crate that can be shipped motor freight. It typically takes two good mechanics two weeks (or 200 man hours) for the installation but I have heard of some shops billing over 250 man hours. We have done enough of these installations to be able to commit to a fixed price for installation. In accordance with Federal Aviation Regulations, the aircraft can be ferried to us to have the strap kit installed but check with us to be sure your aircraft is capable of a ferry flight without a strap.
Please call us for pricing for the complete new old stock Aerospace kit and installation. We will discount the purchase price of the kit if we do the installation here at our shop.
Other manufacturers kits resemble bridge trusses and can protrude more than 10 inched from the skin of the Beech. Not only is this unsightly but it is enough to make an aerodynamicist sick. I heard one owner say that one good thing about his bridge truss spar strap was that if he ever had to belly land his Beech at least the props wouldn't hit the ground!
Here is a shot of the center section of the Hamilton spar strap on a G-18S. The fairings that cover the strap protrude well over 9 inches. We can provide complete NOS strap kits, parts, hardware, drawing packages and we can also install the kit here at our facility northern California.
The spar strap came about because of cracks developing in the wing spar structure. Some of these cracks were in the spar from the factory in welded areas and others developed while the aircraft was in service. Since the Beech 18 can be a bit tricky to handle on take off and landing she has gained a reputation for ground loops and other interesting runway adventures. Side loading on the landing gear along with hard landings and running to stationary objects has contributed to these steel spars cracking and in some instances, failing in flight. Thus the FAA imposed a requirement, in the form of an mandatory Airworthiness Directive, to inspect and x-ray the spar and to reinforce the wing trusses on all Beech 18 aircraft. Several companies produced spar strap kits many years ago to get the Beech's back up in the air but the Aerospace kit has been widely recognized as the leader of the pack. Aerospace spar kits actually increase the value of a Beech because of its clean lines and flush appearance. This is the only spar kit that is available today.
The kit is designed to have the same strength as the original spar. It essentially ties the two outer wing panels together with several stainless steel straps, as seen in the drawing at the top of the page. Most of the straps are manufactured from two layers of 1/8 inch structural stainless straps and they extend from just inboard of the wing tie down fitting from one wing through the middle of the plane out to the other wing. Toward the end of the installation the straps are preloaded by placing 600 pounds of weight on each wing tip and the final holes are drilled in the center splice plates and the strap is then bolted together. When the weights are removed the strap is then under tension which allows the spar and the strap to equally share the loads generated in flight.
Many decades ago, I had been told by some old timers that the spar strap AD was unnecessary and that the FAA brought it about because of one old freight dog aircraft that shed a wing in flight. I had become complacent about the spar cracking problem. Not long after I installed the Aerospace spar kit on my Beech SNB-1, I had the main lower spar elliptical tube break. A friend who was an IA noticed the broken spar while he had his head deep up in the right gear well and he called me immediately. I thought Paul was talking about a stop drilled crack in a wing rib near the fuel tank. When I took a look I couldn't believe what I was seeing. Inboard of the slide tube cluster at the tip of a gusset, the lower spar was broken three quarters of the way around the tube and it was displaced one quarter of an inch. A vertical tube was also severed between the upper and lower spar tubes and had been weakened from internal rust.
I am convinced that I, and my passengers, owe our lives to Paul and to the Aerospace spar strap. I now know that the stop drilled crack in the gear well was an indicator that things are moving around and is a good indicator of problems to come. After the spar broke, that area was broken out from things being on the move. This experience is one of the main reasons that I purchased the rights to the Aerospace strap kit. I thoroughly believe in this product as it saved my life.
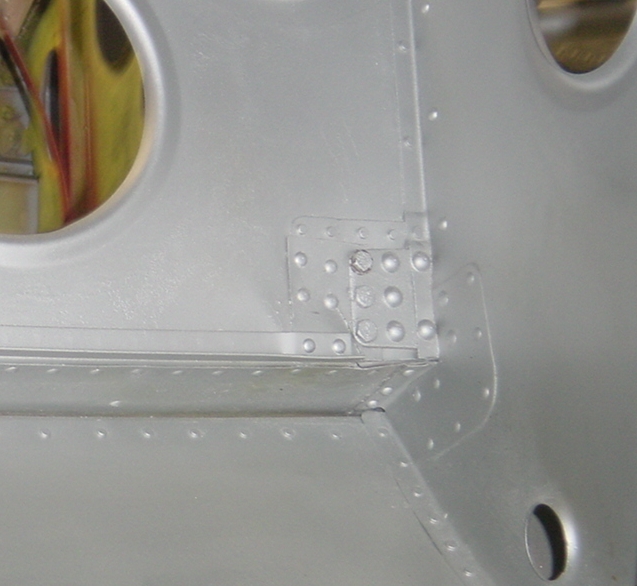
Here are two pictures that I have found to be a good indicator of spar troubles. This example is in an AT-11 that we are restoring in the shop. This picture shows the steel tab that attaches the spar to the number two rib outboard of the fuselage. This area is visible in the right gear well in this example and is next to the main fuel tank. The picture on the left shows a previous old repair that has also cracked out. The crack is small and may go unnoticed or may be disregarded as inconsequential. You can also see the deformation in the rib and the bottom skin. The shot on the right shows the same area after the old repair plate was removed. The original stop drilled crack is now visible.
This is exactly what I had in my SNB-1 except that after the spar broke, this area was completely cracked out all the way to the lightening holes. This is a critical area to watch during inspections as well as during a pre flight. This problem seems more common in the C model aircraft but I have seen it in the D models as well. Beech even beefed up this area at the factory.
Beech engineered a repair for spar cracks in the form of a set of reinforcing plates that are welded on the spar. This is a critical welding operation as the truss was a heat treated structure. There are important procedures that need to be followed so the maximum strength in the spar is retained.
Here is Rick's repair to this AT-11's cracked web. After he designed the repair we noticed that it was exactly like the one Beech put into the D model aircraft except his has a doubler on the inside sandwiching the damaged area.
Make sure your mechanics know about these problem areas and that they know what to look for. I have seen this show up on many different models of the Beech 18 and it is a great indicator of past airframe abuse. If this past abuse was severe enough it may lead to bigger spar problems so keep a close eye on it. Pilots are reluctant to tell others about their bad landings but this is a mistake in the Beech 18. If you prang her on, make sure your mechanic does a thorough hard landing inspection including the whole spar, the area mentioned above and the gear and wheels. The Beech spar is tough espcially when reinforced with the spar strap but like any aircraft she needs to be inspected and cared for regularly.
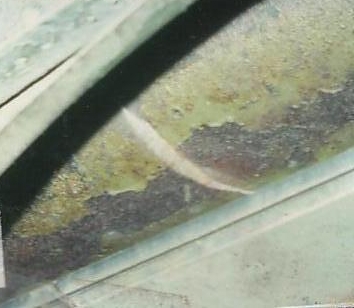
As the Twin Beech gets on in years rust on the inside of the spar truss is becoming more of a concern. The photo above shows a spar tube that has been cross sectioned to show the internal pitting. This particular spar was heavily rusted on the outside as well so this can be considered an extreme example. In some areas the tube was was less than half of its original thickness. The owner has opted to replace the entire steel truss assembly in this aircraft. Needless to say this is a monumental undertaking.
It seems like water can gain entry to the inside of the spar truss through the several spots. One is the lifting fittings just inside of the nacelle. If water is allowed to stand in here it may eat through exposing the truss to the atmosphere. The other way is through the drive screws. Each tube was drilled on each end for several reasons. One was to let the gasses generated by welding vent during the manufacturing process. The other reason was to provide a passage to inject hot linseed oil into the tube for internal rust inhibiting. If these screws drop out over time moisture can enter the truss and can lead to rust problems. We are in the process of making a pump set up that will be able to circulate rust inhibitor through the spar to try and help the truss last another 50 years. Stay tuned for more information about this.
I am also going to post a strap installation page to help assist people with this process. I have a collection of pictures showing many different installations that we have performed as well as those on other aircraft. There are big differences between the various models of the Beech 18. From camera doors to bomb bay doors and everything in between, no two installations have been the same. If you have any questions about this or any other beech 18 or Warbird issues, don't hesitate to ask. That is what we are here for.

